Browser and presets
The Browser of Massive X helps you to explore preset sounds intuitively, with advanced filtering and tagging options that enable you to find the best presets for your musical needs.
The Browser provides access to Massive X's libraries and Expansions. You can filter sounds by tags, text search, user presets and Favorites, helping you to quickly and intuitively find the right presets for your musical needs.
The Browser is the main part of Massive X’s Browse view:
Click Browse in the Header to open the Browse view and display the Browser.
The Browse view includes the following areas:
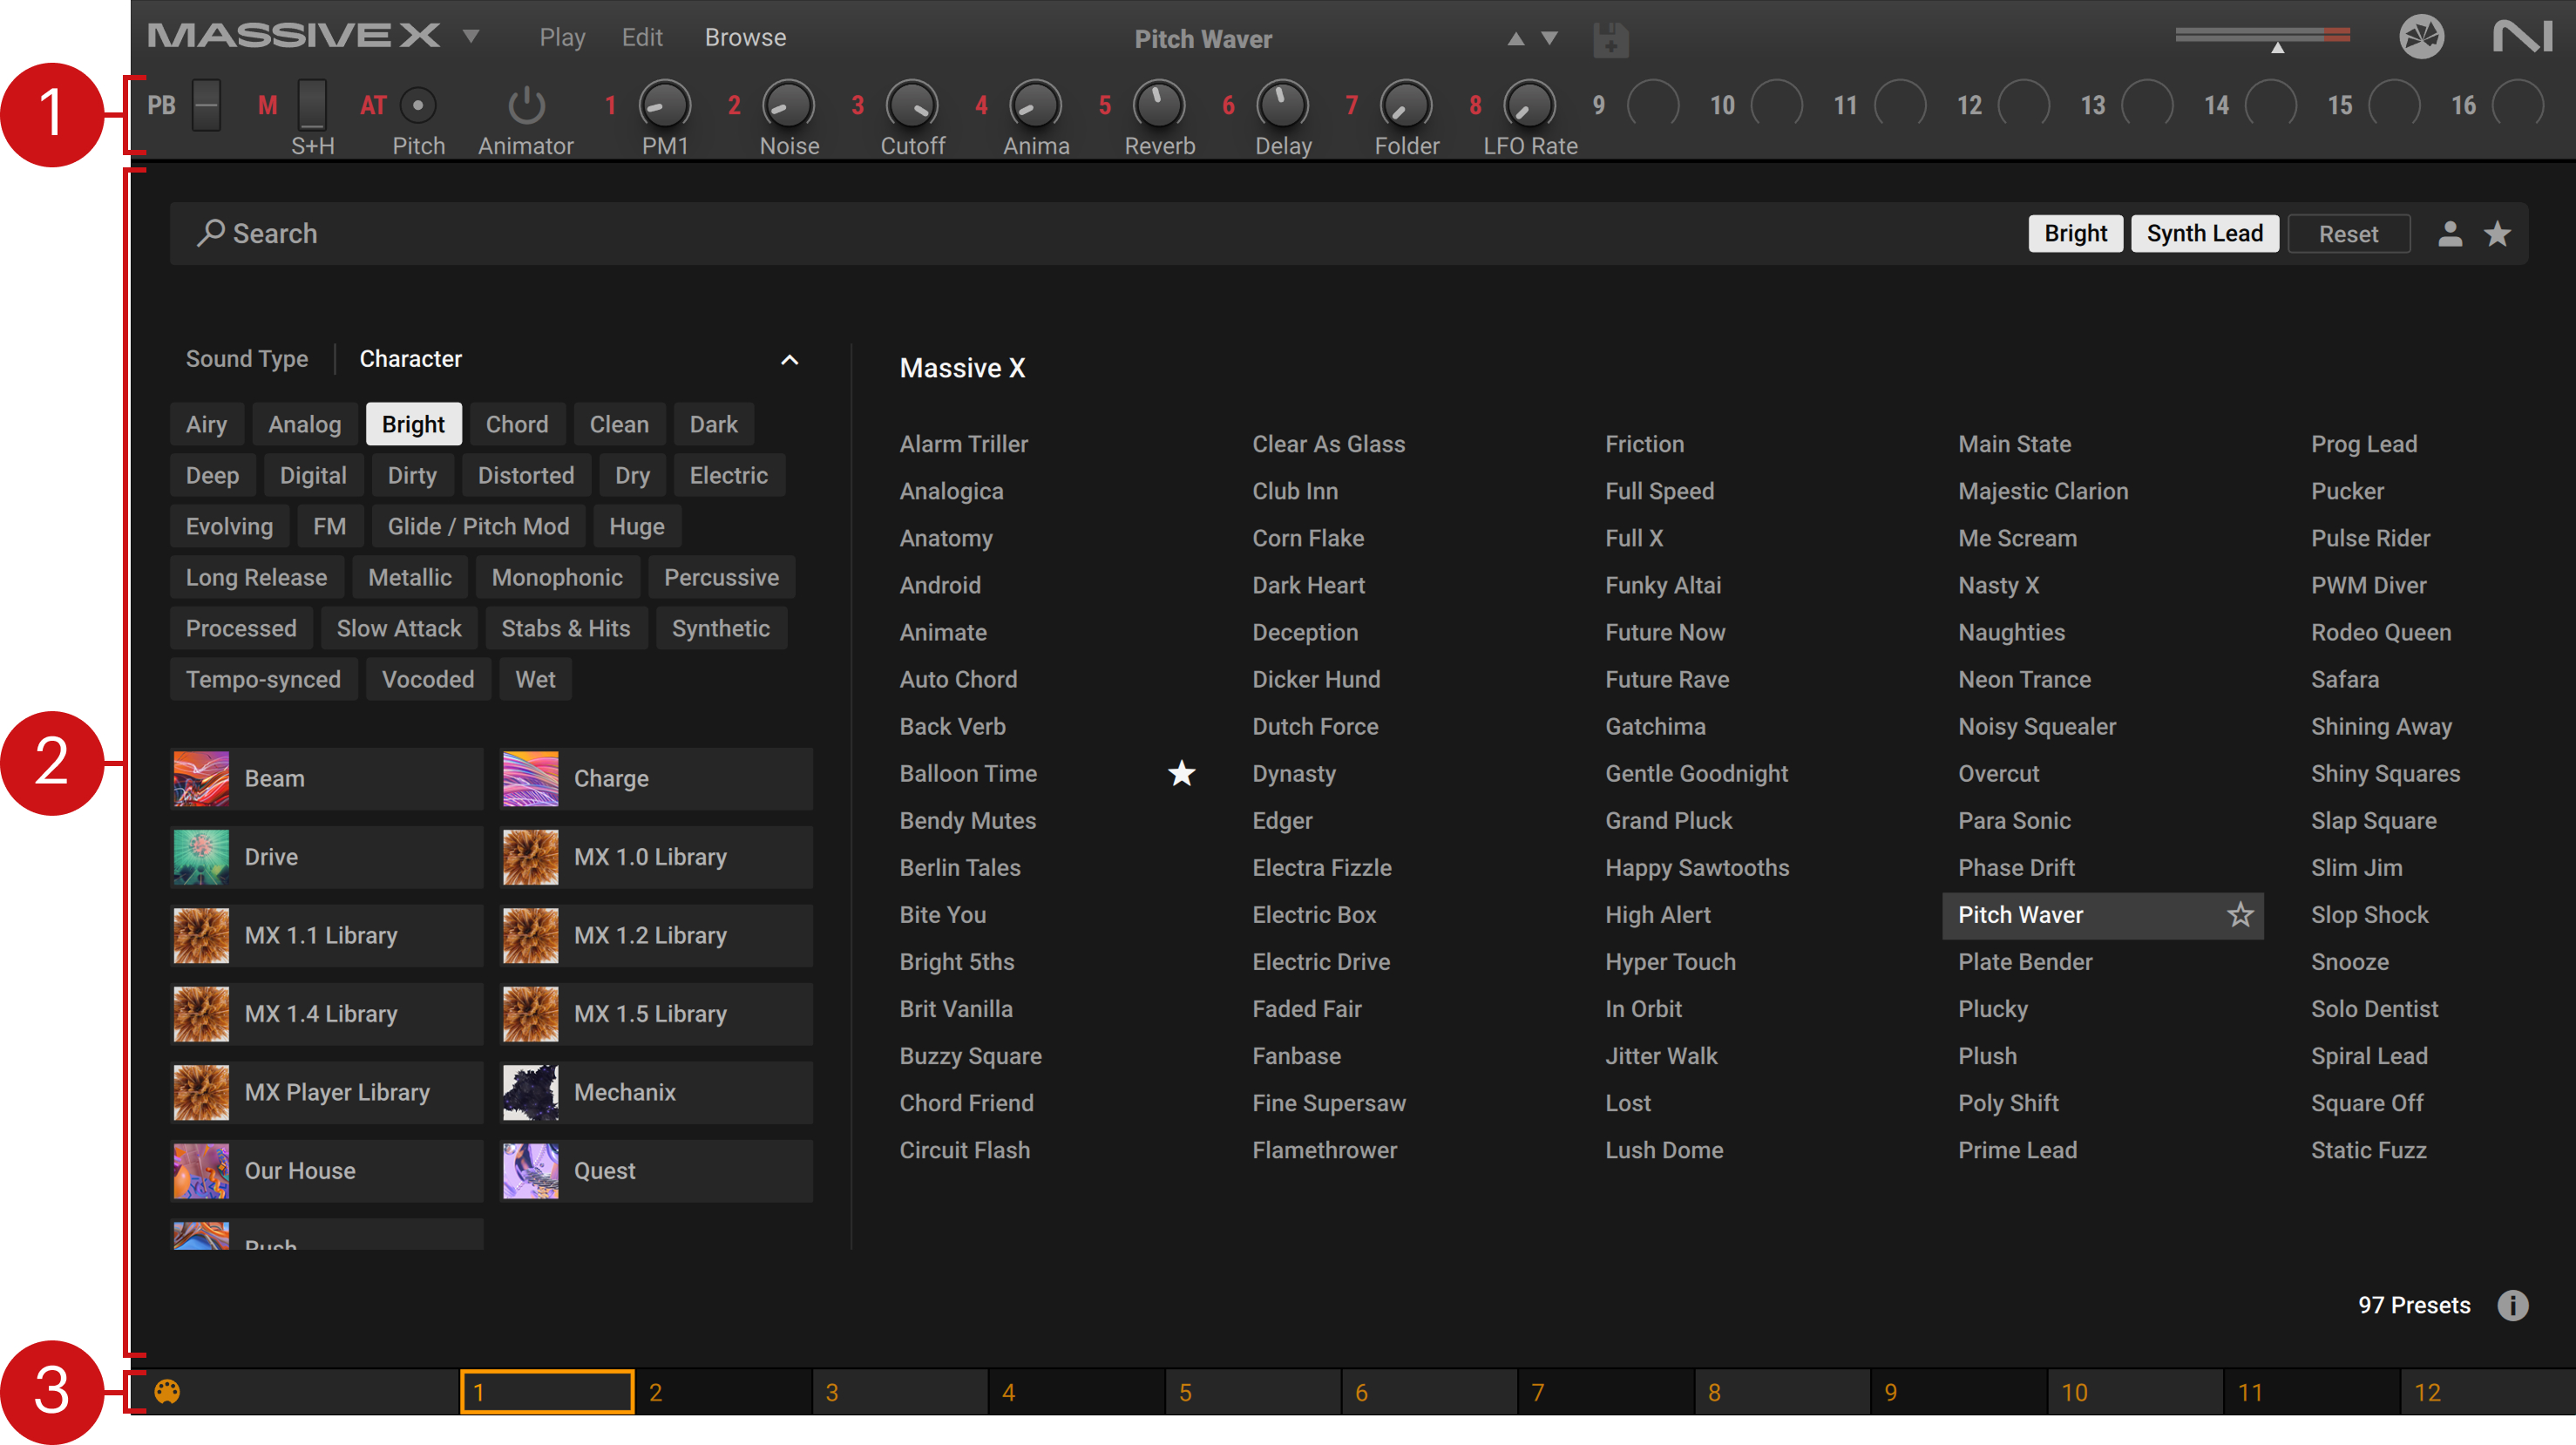
Macro bar: Custom set of shortcuts assigned to single or multiple parameters of Massive X. The Macros also give you access to host automation and MIDI control. Refer to Macros.
Browser: Lets you search and load presets from the factory library, your user library, and any installed Expansions. Refer to Using the Browser.
Remote Octave (not available in Massive X Player): Special key zone with access to 12 optional variations of the Performers. Refer to Remote Octave.
Using the Browser
The Browser contains the following features and controls:
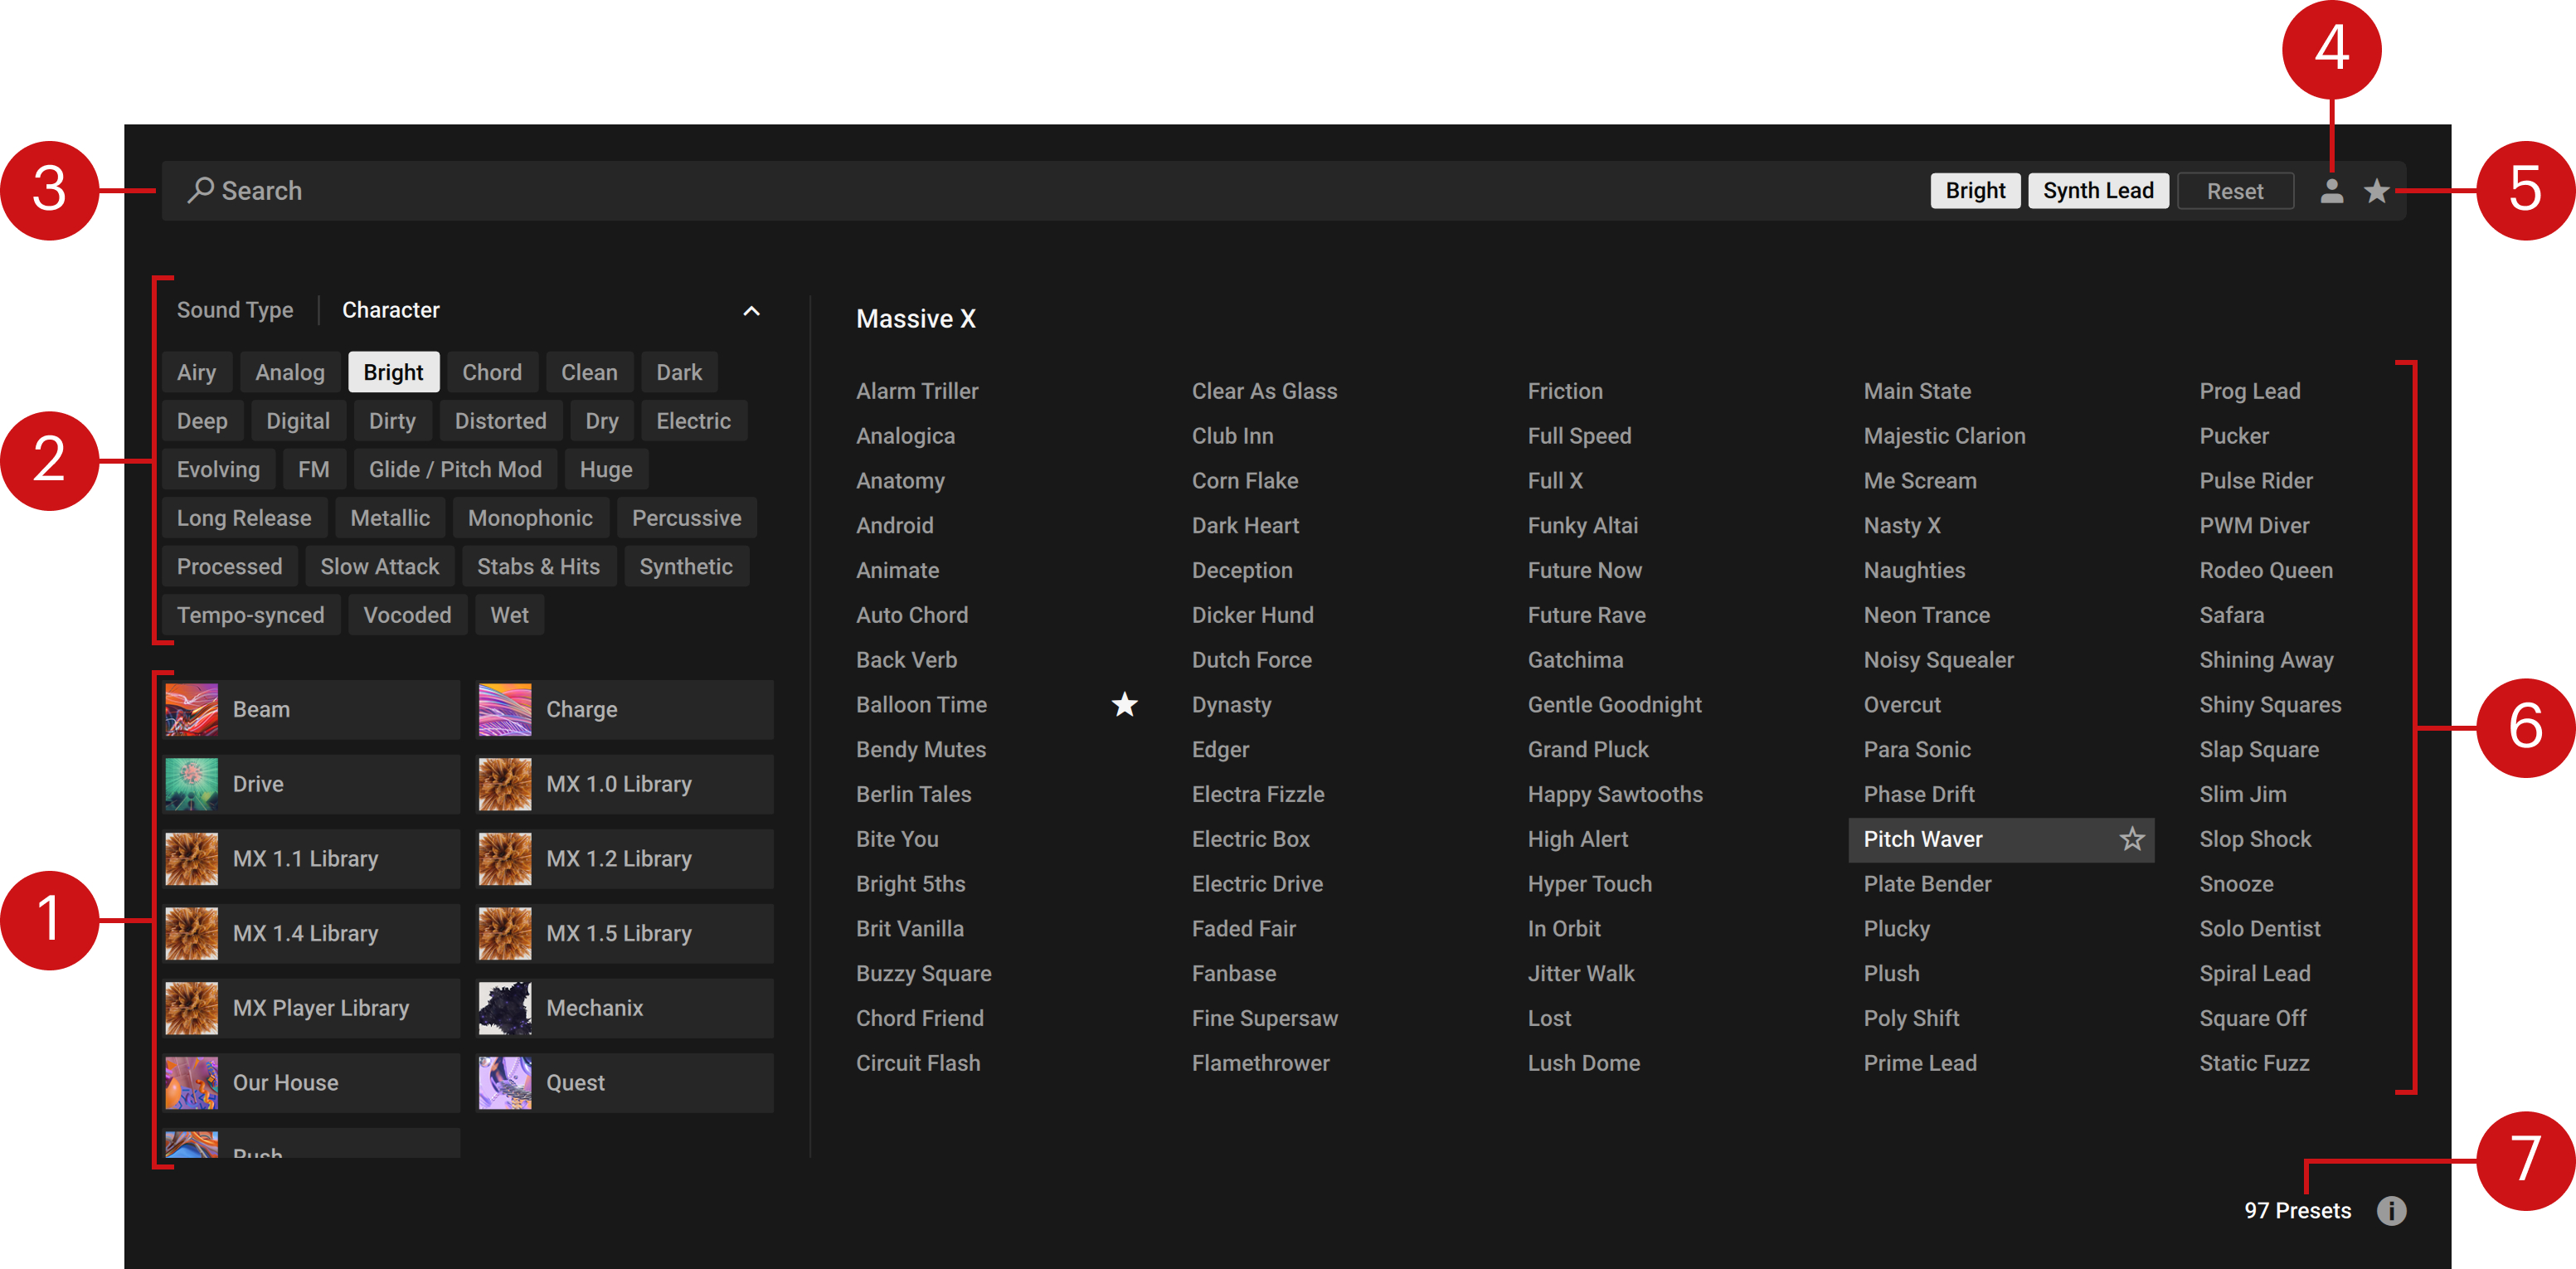
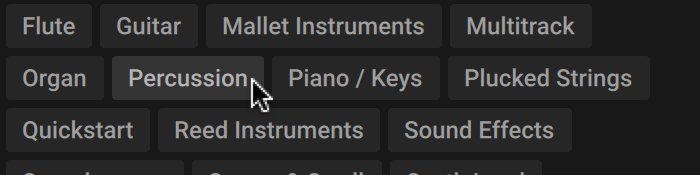
Product Filter: Contains all your factory libraries and Expansions. Selecting a Product tile filters the Results list with relevant presets. Browsing with Filter tags and Text Search adjusts the Product filter accordingly. Refer to Using filters.
Tag Filters: Contains Sound Type and Character filters that use NKS tagging to enhance the browsing experience. Switch between the two Filters interchangeably and explore tags that classify and organize presets based on various musical attributes and functions. Refer to Using filters.
Search field: Filters presets according to the text entered in the Search field. The search engine considers preset names, author, filter names, and metadata including Character and Product tags. The Results list is filtered according to the terms entered in the Search field. Additionally, it shows your selection in the Sound Type and Character filters, and lets you remove filter tags. Refer to Using the Search field.
User Content: Displays user presets in the Results list. Click the User icon to activate the filter and remove factory presets from your search. User presets will not be included in the Product and NKS tags, but can be added to the Favorites list. Refer to Using presets.
Favorites (star icon): Filters presets in the Results list by Favorite tags. You can assign a Favorite tag to any preset in the Results list, creating quick access to a custom collection of your most beloved presets sounds. Refer to Using Favorites.
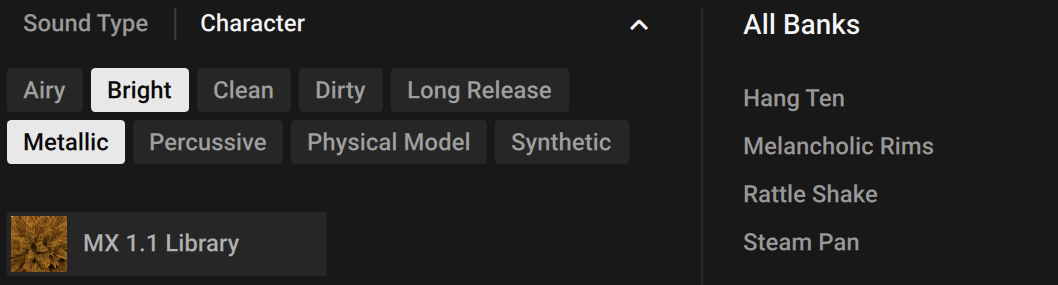
Results List: Displays the list of presets according to the options set in the Search field, User presets, Favorites, and Filters. Presets are listed in alphabetical order and the selected preset is highlighted. Click the name of a preset to load it. You can also double-click the name to load the preset and directly switch back to the previous view in one go. When more than one page of presets is available, a scroll bar appears when hovering your mouse in the area below the Results list. Clicking + dragging the scroll bar moves through the presets. Additionally, you can scroll via your mouse wheel or touchpad. Refer to Using filters.
Preset Count: Displays the number of presets currently in the Results list. This useful feature allows you to monitor the affect of your filtering, highlighting the potential need for tag refinement to help narrow down extensive Results lists.
Using filters
Filters enable you to search for sounds using tags and Product tiles. Tags are used to characterize and classify presets based on various musical attributes. All presets in the Massive X library are tagged in a meaningful way to encourage your sonic exploration and help you find results quickly. Sound Type and Character filters use NKS tags to search for preset sounds. Selecting a Product tile will display only results contained in the respective product. All filters can be used in combination with the Search field to further refine your search results.
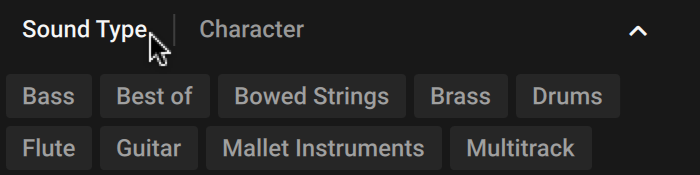
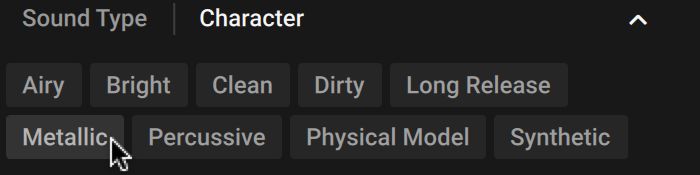
The Sound Type filter enables you to show results according to the types of instruments or sounds they are associated with. Selecting a tag will automatically amend the tag list with related NKS sub-tags, if available. The Character filter enables you to further refine your search by selecting various attributes and characteristics that can be used to describe the sound you are looking for.
When a tag is selected it is highlighted in the tagging area and the Results list is updated accordingly. A single click adds the selected tag, whilst removing all other tags. Pressing [command] (macOS) or [Ctrl] (Windows) and clicking selects multiple tags.
Tip
You can hide the Sound Type and Character filters by clicking the arrow icon in the upper right corner of the filter area.
To browse for presets using Sound Type and Character Filter tags:
Click a Filter category (Sound Type or Character) to open it and show the contained Filter tags.
Click a Filter tag to start filtering the presets in the Results list.
Click the other Filter category to open it and display the contained Filter tags. The first Filter closes automatically, though its selected tags remain active.

Click a Filter tag to continue filtering the presets in the Results list.
Press [command] (macOS) or [Ctrl] (Windows) + click to select another Filter tag from the same Filter type and further add to the filtered presets.
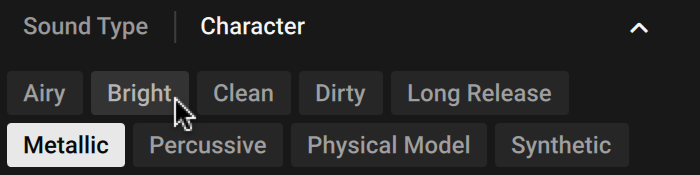
The presets in the Results list are filtered by the selected tags. Only presets containing any of the selected Filter tags are shown.
Note
Your selection in the Sound Type and Character filters is shown in the Search field, which also allows you to remove them from your search. For more information, refer to Using the Search field.
Using Favorites
Favorites enable you to tag your most frequently used and enjoyed presets, and recall them at any time. By assigning Favorite tags to presets in the Results list you can create a personal collection of sounds that can be easily accessed from the Browser. Favorites can be used for both factory and user presets. Favorite preset files are shared between Massive X, Maschine, and Komplete Kontrol.
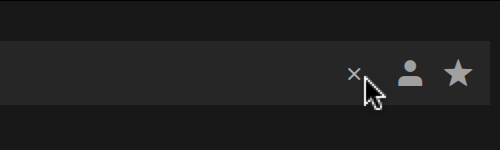
To assign a Favorite tag, click the star icon that appears when a preset is selected or hovered over.
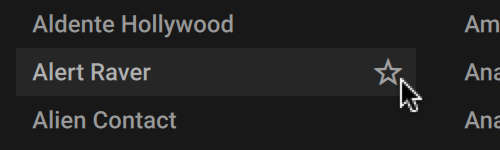
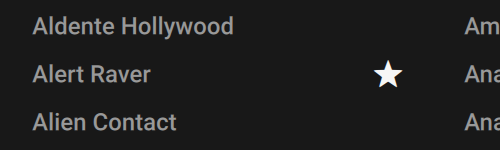
The Favorite tag is assigned. Clicking the star again removes the tag.
Once assigned, Favorites serve as an additional filter in the Browser. You can continue to use other filters to refine your search, including the search field.
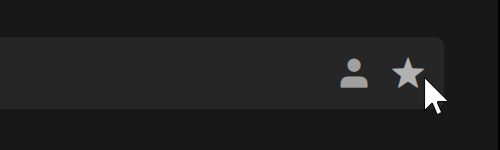
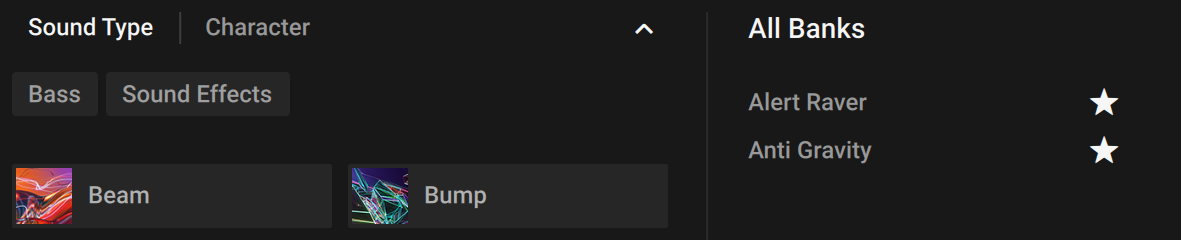
To view your Favorites in the Results list, click the Favorites icon in the search field.
Only presets that have the Favorite tag assigned are shown in the Results list.
Using the Search field
The Search field at the top of the Browser interface allows you to filter presets with text entry. The search considers preset names, author, Filter titles, and metadata including Character and Product tags.
To filter presets using the Search field:
Activate the Search field by clicking it.

Enter your search terms.

The Result list is filtered according to the terms entered in the Search field.
Your search entry remains in the field even when the Browser is closed.
To clear the search, click the cross icon on the right side of the Search field.
If you are browsing using the Sound Type and Character filters, your search will only display results matching both the selected tags and your search terms. The Search field shows all selected filter tags, and lets you remove them from your search:

To remove a specific filter tag from your search, click its name in the Search field.
To remove all filter tags from your search, click Reset in the Search field.
Using presets
Massive X contains an expansive range of dynamic preset sounds that are accessed and managed in the Browser. Searching for presets using the Browser's extended filtering and tagging options allows you to hone in on your specific sonic needs, whilst facilitating the discovery of new sound spectrums.
Loading a preset
Presets can be loaded one-by-one directly from the Header or selected within the Browser. Using the browse arrows in the Header, you can quickly step through the presets from within the selected category. Using the Browser, you can access an overview of all categories to search and load presets.
To load a preset from the Header:
Click the up arrow to step upwards through the selected category of presets.
Click the down arrow to step downwards through the selected category of presets.
The preset will load immediately each time an arrow is pressed.
.
To load a preset from the Browser:
Click either the magnifying glass icon, the category, or the current preset name in the Header.
When the Browser opens, select a category from the list on the left. If you require access to your saved presets, select the User category.
Select a preset name from the list on the right.
The selected preset will be loaded.
Saving a preset
Saving presets allows you to work on custom sounds and recall them at a later time. When you create a sound you like, you can save it as a User preset and it will be added to the User Presets folder on your computer, and displayed in the User category of the Massive X Browser.
To save a preset to the User folder:
Click the Save button (disk icon) in the Header.
In the dialog that appears, enter a name for your preset.
Optionally, enter the name of the author who created the preset. The default name is Native Instruments.
Click Save to store the preset.
If the preset name you provided already exists in the User category, you will be prompted with the option to replace your existing preset.
Click Replace if you want to replace it, or provide a new name for your preset
Click Save. You can also select Cancel at any time to exit the procedure.
The preset file is saved to the User Preset Library. It appears in the User category in the Browser .
Note
You can not overwrite presets in the Massive X Factory Library. If you decide to edit a Factory Library preset and save it, it will be stored as a separate preset in the User category.
Note
If you delete any files in the User Presets folder, you must rescan your sounds by selecting Rescan Content in the Settings menu. Only after rescanning your content will the list of presets in the Browser be updated. For more information, refer to Managing user presets.
Importing a preset
Presets can be imported into the User Presets folder by dropping the preset files onto the Massive X user interface. A preset file can be dropped anywhere on the user interface and it will automatically be saved to the User Presets folder and accessed in the User category in the Browser.
To import a preset file to the User Presets folder:
Select the preset file on your hard drive you want to import.
Drag and drop the file onto the Massive X user interface.
The preset file is now saved into the User Presets folder.
Caution
New content must be scanned, otherwise, it will not appear in the Browser. To scan new content, either relaunch the application or manually trigger Rescan Content from the Settings menu in the Header.
Managing user presets
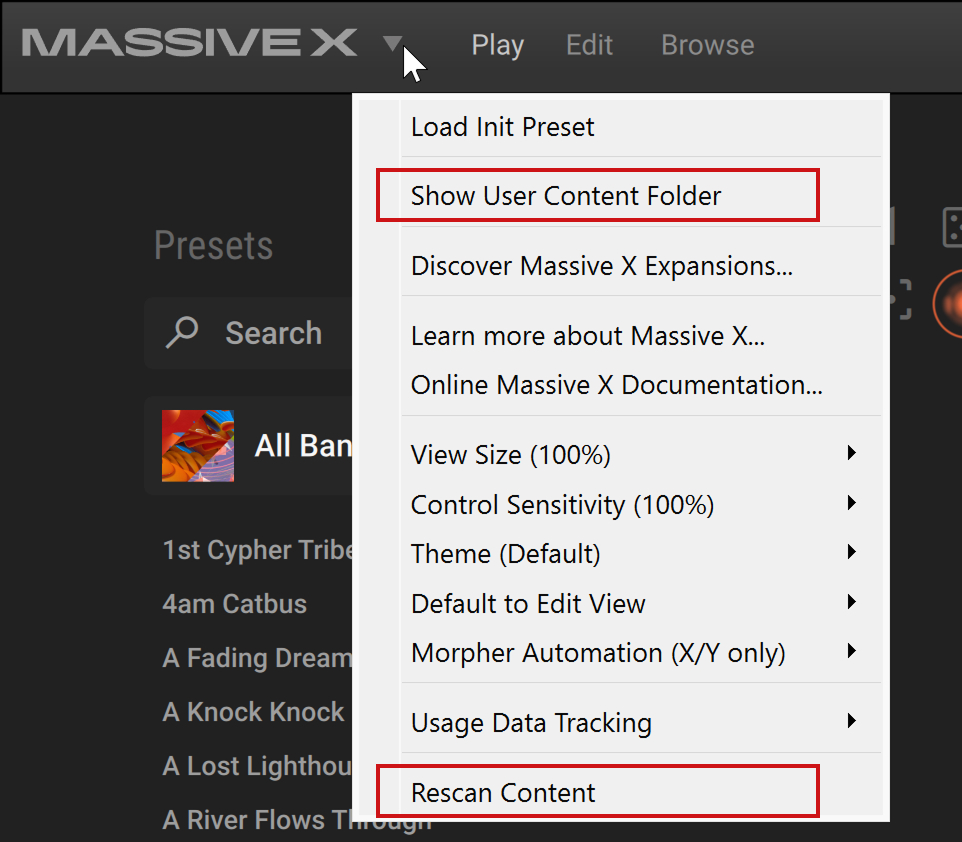
The Settings menu provides two options to help you manage your user presets: Show User Content Folder and Rescan Content.
 |
Accessing user presets
To view, add, or delete your preset files:
Open the Settings menu, located next to the Massive X logo on the left side of the Header.
Click Show User Content Folder.
Use the Presets folder to view, add, or delete your user preset files.
When finished, rescan content to update the Browser with any changes made.
Rescanning user presets
When a preset has been added or deleted, you must rescan the user presets folder to reflect these changes in the Browser.
To rescan for user presets:
Open the Settings menu, located next to the Massive X logo on the left side of the Header.
Click Rescan Content.
The Browser is updated to reflect the files in the User Presets folder.
Tip
From version 1.3.1 onwards, all new user presets are stored in a dedicated Presets subfolder in the user content directory, located on your computer: Documents/Native Instruments/User Content/Massive X/Presets. User presets from earlier versions will still be read from the folder: User Content/Massive X.