Noise
The Noise section in Massive X contains two noise sources, each offering the ability to add textures and atmospheric content to your sound.
Noise in synthesis can be used for a number of practical and creative end uses. As an audio source, noise can be mixed with other sound generators to produce harmonically rich waveforms. It can add depth and color to an otherwise lack-lustre waveform, and in sound design, it is essential for recreating the sonic character and texture of real-world elements like water, wind, fire and all soundscapes in between. Noise is also an ideal source for producing percussive sounds, like cymbals, snares and hi-hats. As a control source, it can be used to generate random voltages that can be utilised in a variety of ways, most commonly in sample-and-hold devices.
The Noise section in Massive X contains two noise sources, each offering the ability to add textures and atmospheric content to your sound. Beyond the typical white and pink noise offered on most synthesizers, the noisetables in Massive X provide huge potential for compelling and dramatic sound design. Collections of individual noise samples are grouped into seven categories. Alongside the standard noisetables, recordings from machines, animals, and environments are also provided, as well as transient samples that are particularly suited for percussive sounds.
Each noise source can be routed separately within the routing section, providing further opportunities in sound design. For more information, refer to Generators and processors. The phase position and playback mode of the noise sources is defined in the Voicing page. By default, noisetables playback as a loop, with a Phase control to adjust the phase position of the sample playback. When One Shot mode is selected, the sample plays through once only. The Phase knob changes to Start, which determines the start position of the sample playback. This setting is accessed in the Voicing page, refer to Noise Engine for more information.
Noise overview
This section provides an overview of the Noise section. Controls for Noise 1 are numbered below and are mirrored for Noise 2:
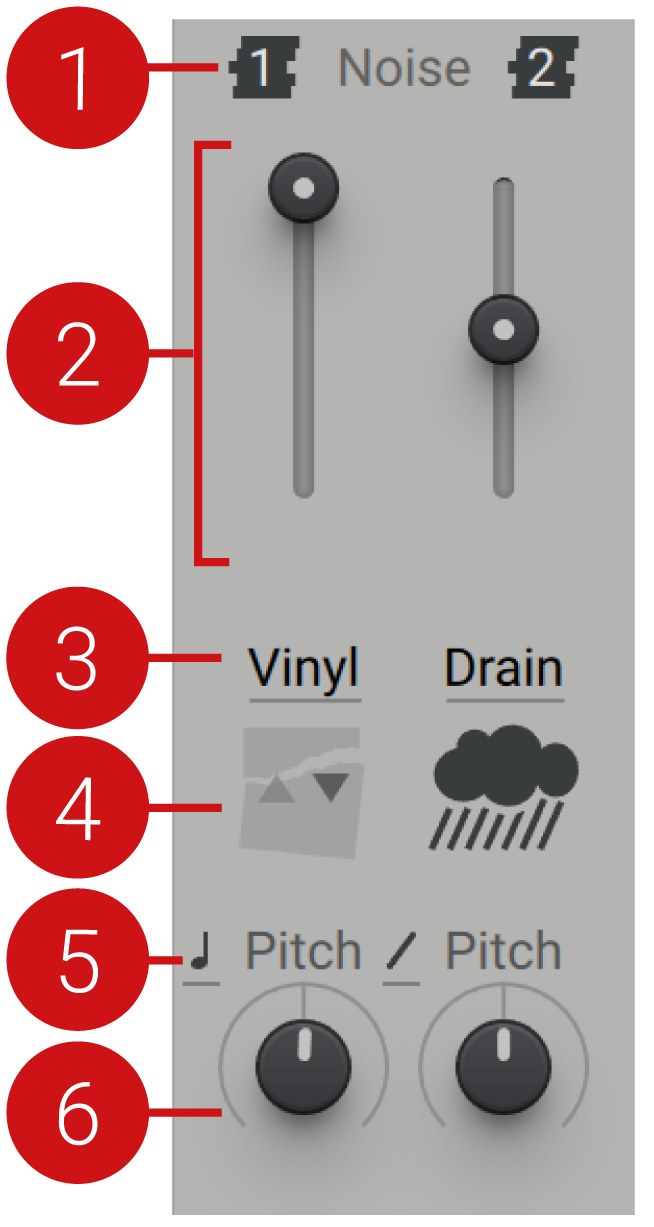 |
Noise on/off: Switches the Noise module on or off.
Noise Level: Adjusts the output volume of the noise source. Move the slider up to increase the level.
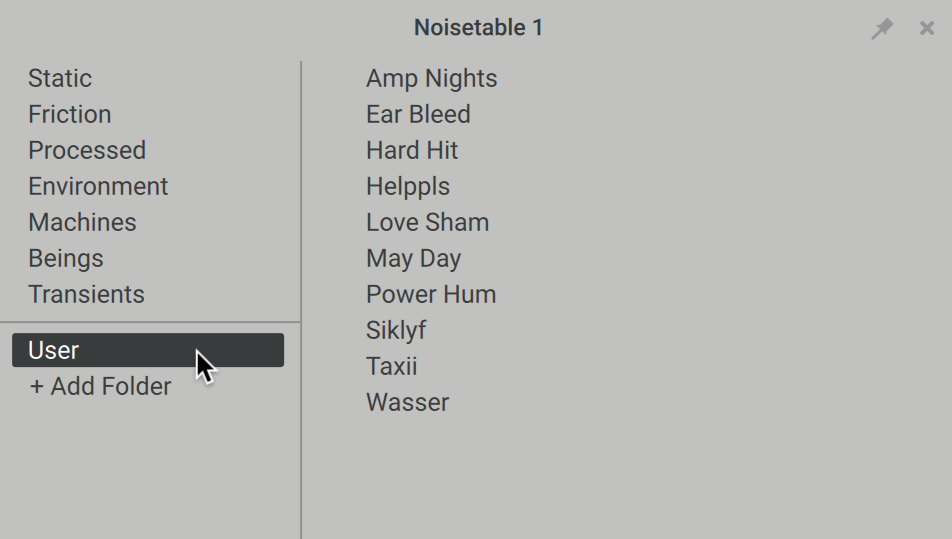
Noisetable menu: Opens a menu with available noises. Seven categories (Static, Friction, Processed, Environment, Machines, Beings, Transients) are presented on the left, and the noisetables of the selected category are displayed on the right. User noisetables are also added and loaded here.
Browse (^ v icons): Browses through the noisetables, without having to open the Noisetable menu. Hover over the noise category icons to reveal the browse arrows.
Pitch mode: Selects one of two modes (Key Track, Fix) that determines the response of the noise source in relation to incoming MIDI pitch. In Key Track mode, the pitch is locked to the main MIDI pitch. Fix mode sets the fixed tuning of the noise source, disregarding the incoming MIDI pitch. At centre position (0), the default is set to C3.
Pitch: Determines the base pitch/frequency for the noise source. At center position, the noisetable plays back at its original pitch. Lower the Pitch to slow down the playback, or increase it to speed up playback.
User noisetables
In addition to the factory noisetables provided, you can also import and load your own custom noise samples into Massive X. Accessing custom noisetables has significant implications for sound design, enabling you to add your own distinct color and character to the the Massive X synth engine. User noisetables that are saved with a preset are embedded into the preset file. For more information on importing samples, refer to Importing user noisetables.
File Format and Size
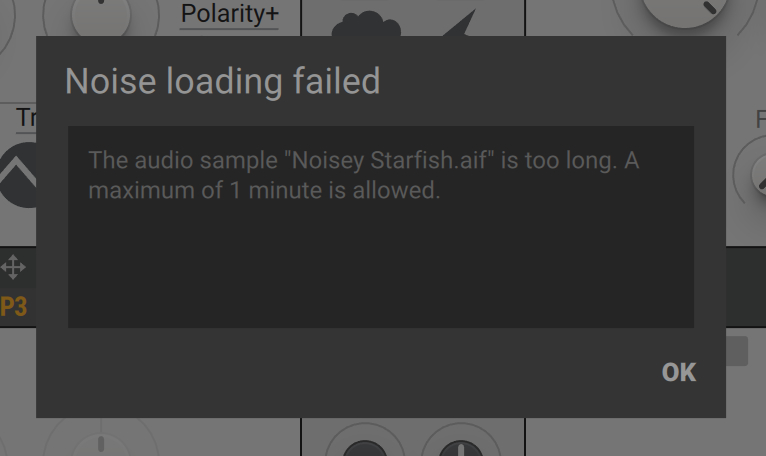
The supported file formats for user noisetables are WAV, FLAC, AIFF, MP3, OGG and MP4. Samples must be at least 10ms long and a maximum of 1 minute. If a sample is too long or too short, a dialog will appear, alerting you to the recognised problem.
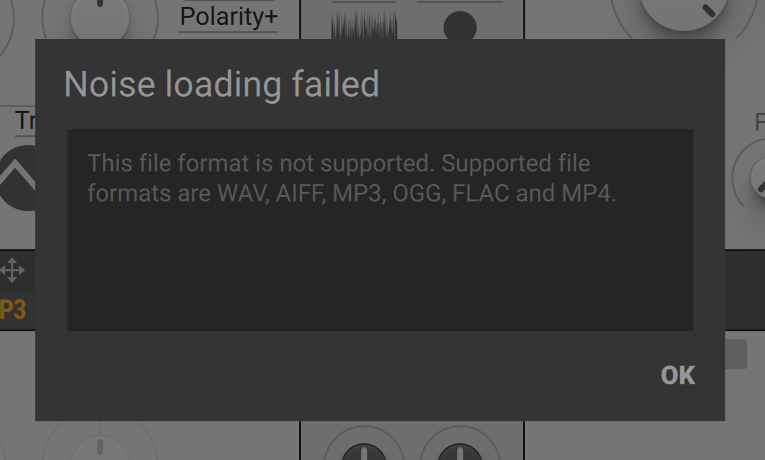
Warning Dialogs for non-supported samples.
Sample Rate
All sample rates are supported for user noisetables. A sample rate of 88200Hz is supported in Massive X, and any user noise sample with a sampling rate higher or lower than 88200Hz will be automatically converted upon import. All stereo samples will be converted to mono. Monophonic samples will not be converted.
Managing user noisetables
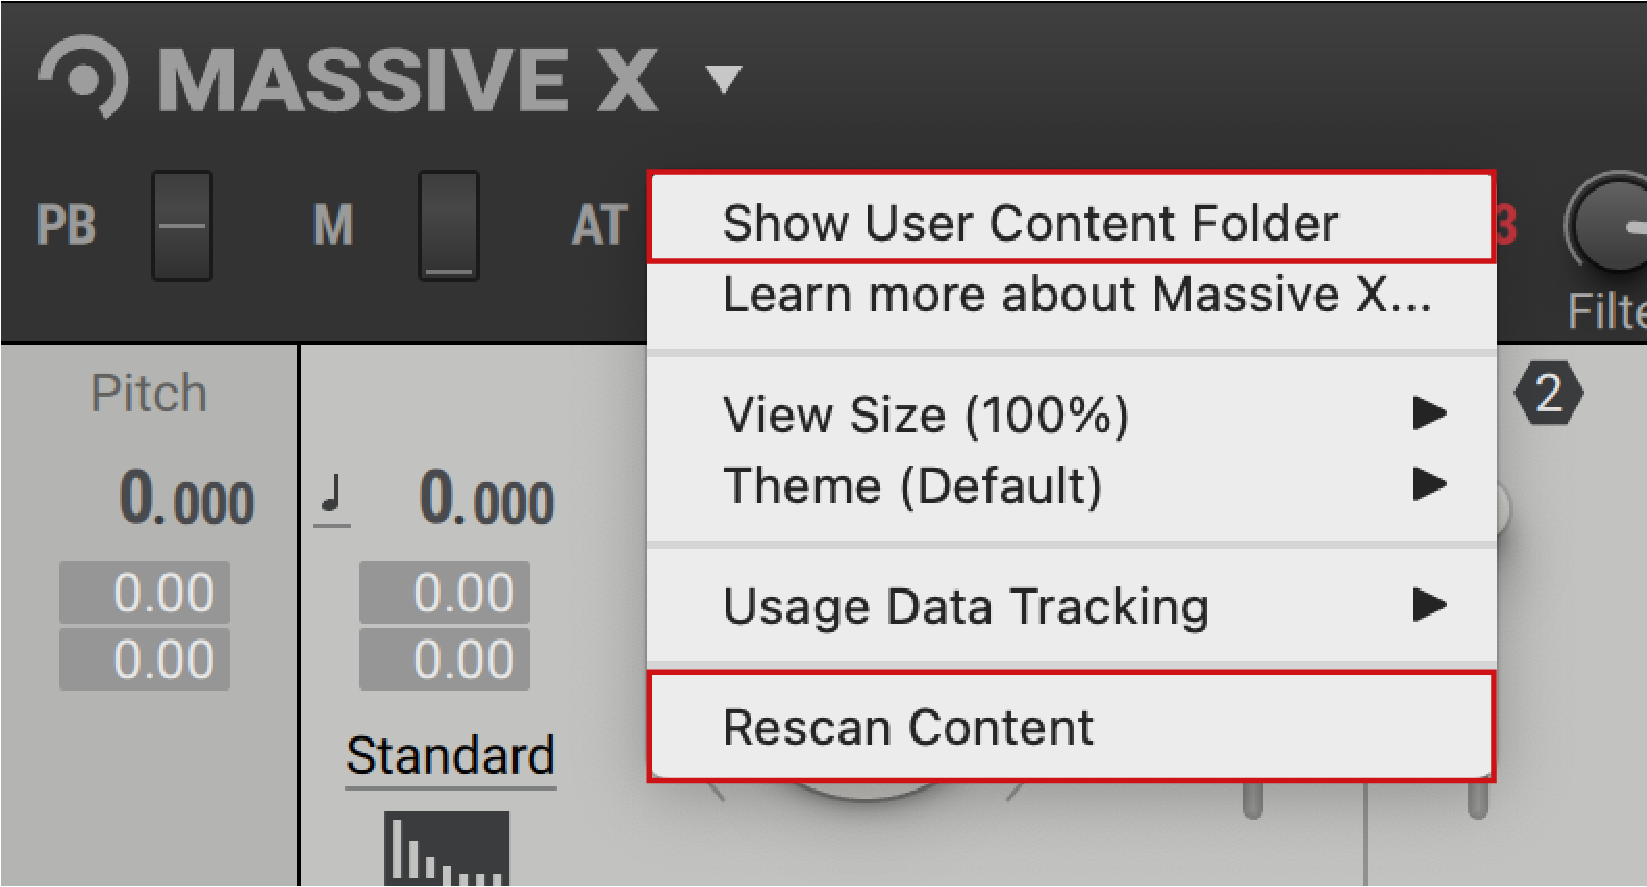
There are two options provided in the Settings menu to help you manage your user noisetables: Show User Content Folder and Rescan Content.
 |
Viewing user noisetables
Show User Content Folder gives you quick access to all noise samples that have been added to the User Noisetables folder. It will not show added folders.
To view or edit the names of your User noisetable files:
Open the Settings menu, via the drop-down menu next to the Massive X logo.
In the Settings menu, select Show User Content Folder.
Use the dialog that opens to view, sort or rename your User noisetable files.
When you have finished, rescan your noisetables to reflect any changes made in the Massive X Browser.
Rescanning user noisetables
When a noisetable has been added, deleted or renamed, it is necessary to perform a rescan. Only by rescanning your User Noisetables folder can Massive X actively reflect these changes in the Browser.
To rescan your Noisetables folder:
Click the drop-down menu next to the Massive X logo, on the left-hand side of the Header.
In the Settings menu, click Rescan Content.
The Browser is updated to reflect the files in the User Noisetables folder.
Note
The User Noisetables folder is located in the folder path: Documents/Native Instruments/User Content/Massive X/Noisetables.
Importing user noisetables
There are three ways to load your custom noise samples in Massive X. Samples can be imported in custom folders via the Noisetable menu, added to the user Noisetables folder on your computer, or loaded individually with drag and drop.
Importing to the User folder
To import samples into the User category of the Noisetable menu:
Open the Settings menu in the Header and select Show User Content Folder. This will direct you to the User Noisetables folder.
Open the Noisetables folder and manually add your noise samples.
Select Rescan Content from the Settings menu.
Your noise samples will be available in the User category in the Noisetable menu.
 |
Importing noise samples into the User category.
Caution
New content must be scanned, otherwise it will not appear in the Noisetable menu. The Noisetables subfolder is the only folder in the User Content folder that will be scanned for noisetables.
Adding a custom folder
While samples can be manually added to the User Noisetables folder, subfolders will not be scanned. Folders must be created from within the Noisetable menu, using +Add Folder. This method means that the folder name will be displayed in the Noisetable menu, enabling you to create your own user categories.
To import a folder of samples:
Open the Noisetable menu and select +Add Folder.
Locate the folder of samples on your computer and click Open.
The selected folder of samples are now available in the Noisetable menu. A reference is added to your selected folder.
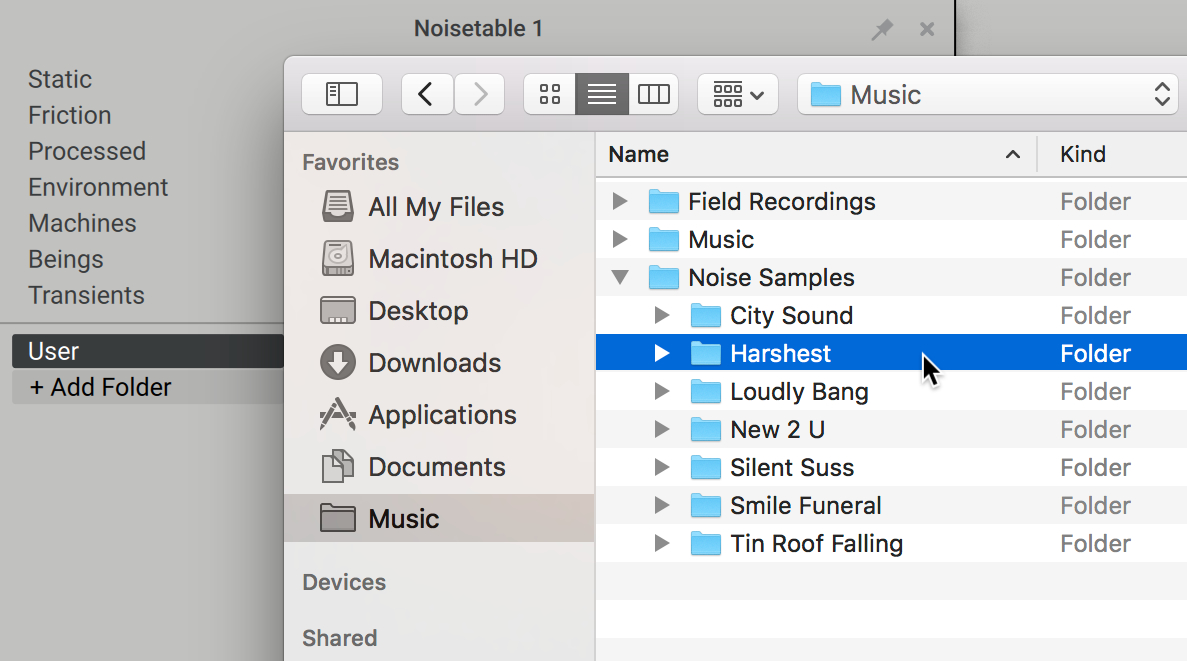 |
Adding a folder of custom samples to the Noisetable menu
Alternatively, if you choose to create a New Folder, select the location and enter the name of your new folder.
Select Create, then select Open and a dialog box will appear informing you that the Added folder does not contain samples.
Copy and paste your noise samples into the new folder.
Select Rescan Content from the Settings menu.
The selected folder of samples is displayed in the Noisetable menu. A reference is added to the folder.
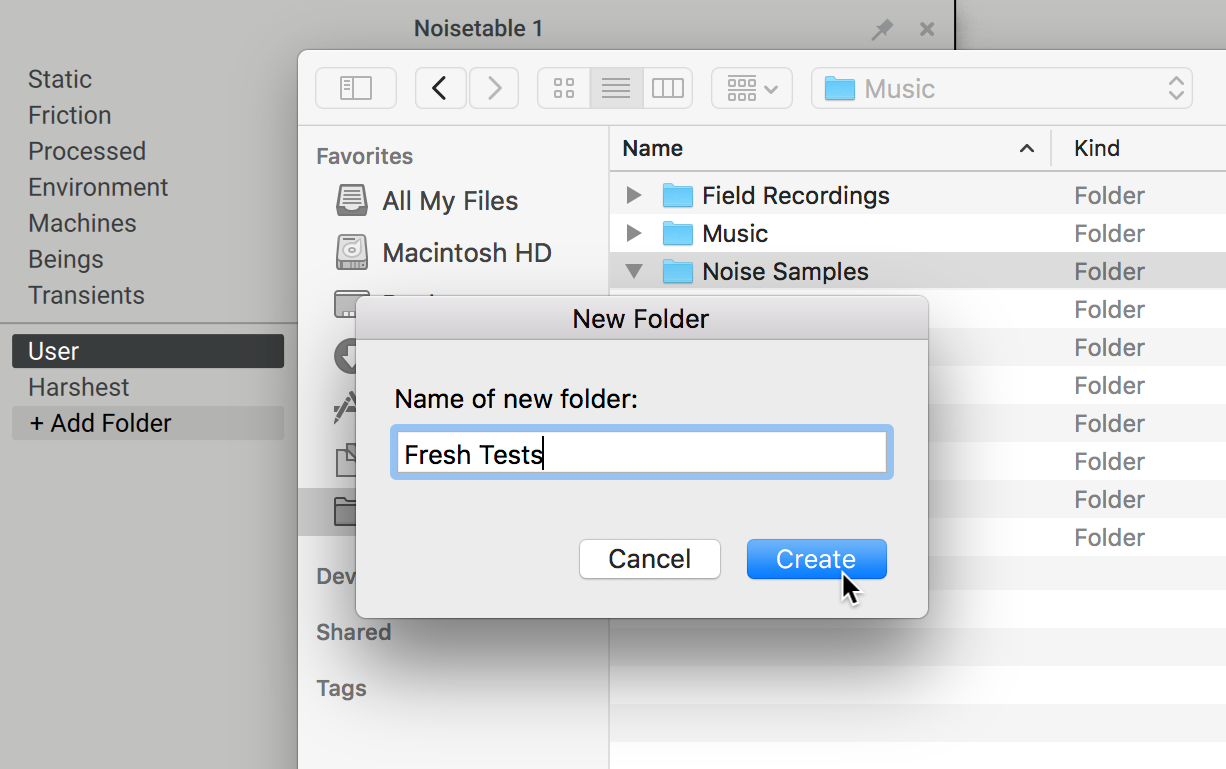 |
Creating and adding a new folder of samples in the Noisetable menu
Loading with drag and drop
You can also drag and drop a single noise sample onto the Noise players and the sample will immediately load in Massive X. A sample loaded via this method is not be added to the User Noisetables folder, but instead appears in a Temporary Content folder in the Noisetable menu. This is useful if you are wanting to test a noise sample in Massive X, without having to do a full import or rescan.
To import a sample using drag and drop:
Locate the noise sample on your computer.
Drag and drop the sample onto a Noise player.
The sample loads in the Noise player. The category icon changes to the User icon.
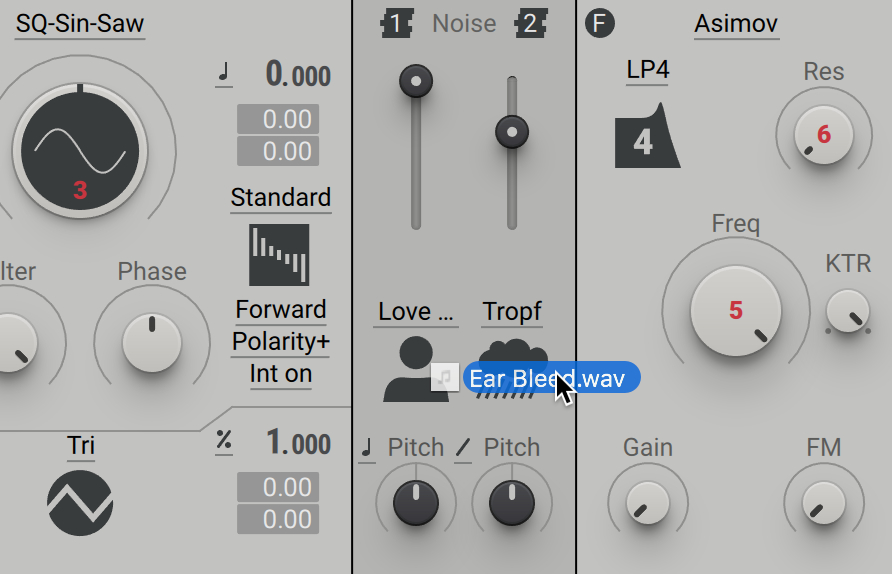 |
Dragging a sample into the Noise player