Using the Browser
Guitar Rig's Browser enables you to quickly find a specific preset or Component, and explore presets or Components based on your aesthetic and stylistic preferences.
The Browser gives access to Guitar Rig's extensive library by enabling you to quickly find a specific preset or Component, as well as explore groups of presets or Components based on your aesthetic and stylistic preferences.
Utilizing the concept of progressive disclosure, each element in the Browser interface contributes to a fluent workflow that continuously filters the Results list or Component Tiles in a meaningful way.
When browsing for presets, you can combine the Search field, Favorites, and Filters to narrow down the presets in the Results list. When browsing for Components, you can combine the Search field and Category Filter to narrow down the Component Tiles.
The following sections explain how to use each of the individual elements in the Browser interface, including the Search field, Favorites, Filters, and the Sorting options of the Results list.
Using Filters
The Filters enable you to filter presets or Components by Filter tags. These tags are used to characterize and classify presets based on their sound, use case, and other attributes. Components are tagged according to categories of effects. All presets and Components in the Guitar Rig library are tagged in a meaningful way so you can start browsing right away.
When browsing for presets, the Filter tags are organized in groups of different Filter types. When browsing for Components, the Filter tags are organized in the single Category Filter.
Tip
You can also assign Filter tags to your own User presets. For more information, refer to Editing User Presets in the Info Pane.
Using Filters for Presets
To filter the presets in the Results list using Filter tags from multiple Filter types:
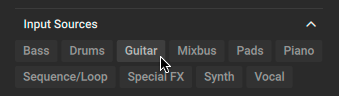
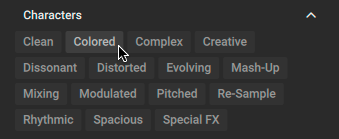
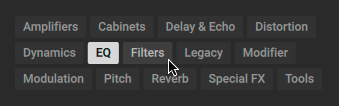
Click a Filter type to open it and show the contained Filter tags.
Click a Filter tag to start filtering the presets in the Results list.
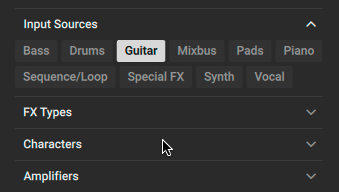
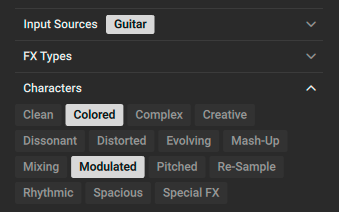
Click another Filter type to open it and show the contained Filter tags. The other Filter types will be closed automatically.
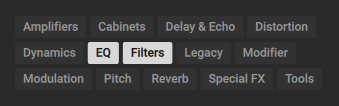
Note
To show Filter tags for multiple Filter types at the same time, press [command] (macOS) or [Ctrl] (Windows) + click to open them.
Click a Filter tag to continue filtering the presets in the Results list.
Press [command] (macOS) or [Ctrl] (Windows) + click to select another Filter tag from the same Filter type and further filter the presets in the Results list.
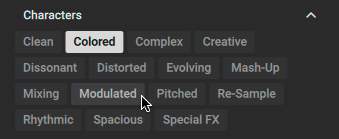
The presets in the Results list are filtered by the selected Filter tags. Only presets carrying all of the selected Filter tags are shown.
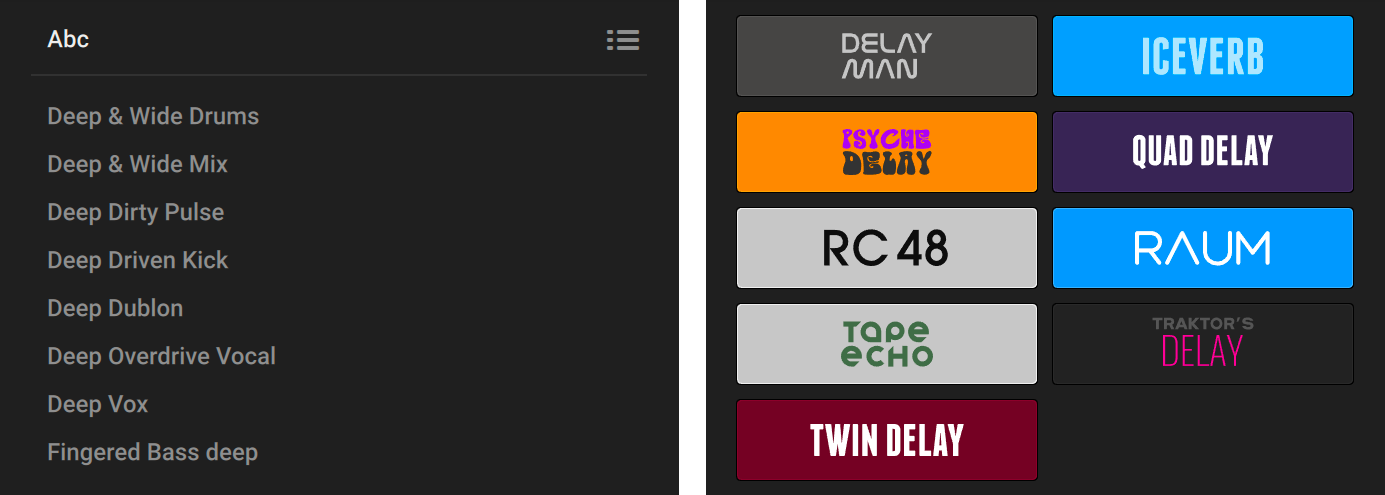
Using the Category Filter for Components
To filter Component Tiles using the Category Filter:
Click a Filter tag to start filtering the Components Tiles.
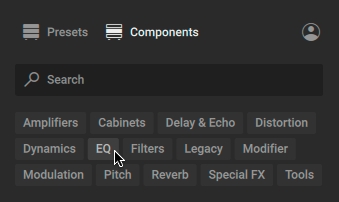
Press [command] (macOS) or [Ctrl] (Windows) + click to select another Filter tag and add Component Tiles from the respective category.
The Component Tiles are filtered by the selected Filter tags. All Components in any of the selected categories are shown.
Sorting the Results list
The Results list provides different Sorting options that you can use to change the order of presets in the Results list.
To change the order of presets:
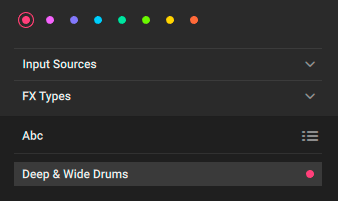
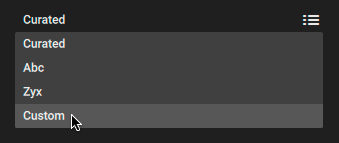
Click the area at the top of the Results list to show the Sorting options.
Click on one of the options to select it.

The presets in the Results list are sorted according to the selected option.
The following Sorting options are available:
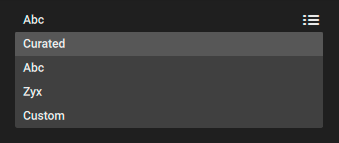
Curated: Sorts the Results list in the order curated by the sound designers.
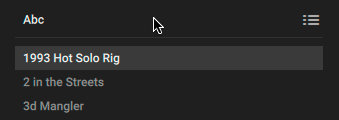
Abc: Sorts the Results list in alphabetical order.
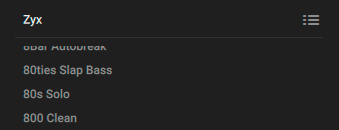
Zyx: Sorts the Results list in reverse alphabetical order.
Custom: Sorts the Results list in the custom order set for Favorites. For more information, refer to Sorting Favorites in the Results List.
Using the Search Field
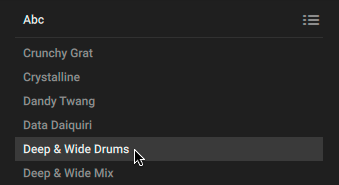
The Search field at the top of the Browser interface enables you to find presets or Components matching the terms entered in the field and shows them in the Results list.
When Presets is selected in the Content selector, the search considers preset titles and metadata, including Filter tags and the author.
When Components is selected in the Content selector, the search considers Component titles, Category Filters, and the associated Component presets.
To find presets or Components using the Search field:
Activate the Search field by clicking it.

Enter your search terms.

The Results list or Component Tiles are filtered according to the terms entered in the Search field.
Using Favorites
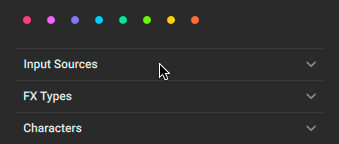
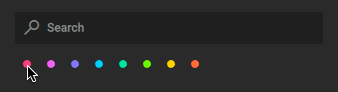
The Favorites enable you to filter the presets shown in the Results list by colored Favorite tags. By assigning these tags to your favorite presets, you can create your personal preset collections and quickly access them.
Assigning a Favorite Tag
To assign a Favorite tag:
Right-click a preset in the Results list to open the context menu. If multiple User presets are selected, the changes will apply to all of them.
Note
You can select a preset by clicking on it. Holding [SHIFT] on the keyboard allows for selection of multiple presets.
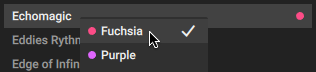
Select one of the colored Favorite tags from the context menu.
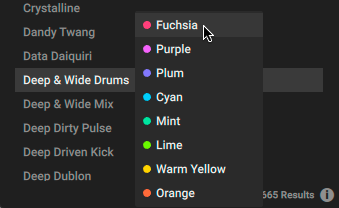
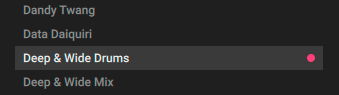
The selected Favorite tag is assigned to the preset and shown as a colored dot next to preset title.
Removing a Favorite Tag
To remove an already assigned Favorite tag from a preset:
Click on the corresponding entry in the context menu. If multiple User presets are selected, the changes will apply to all of them.
The favorite tag is removed from all selected presets.
Filtering the Results List by Favorites
To filter the presets shown in the Results list by your previously assigned Favorite tags:
Click a tag in the Favorites to select it.
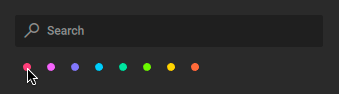
The Results list is filtered according to your selection and only shows presets that have been assigned the respective Favorite tag.
Tip
Favorites shown in the Results list can be sorted in a custom order set by the user. For more information, refer to Sorting Favorites in the Results List.
Sorting Favorites in the Results List
Favorites in the Results list can be sorted in a custom order set by the user. You can set a custom order for each of the eight Favorite tags available in the Browser. Each Favorite tag retains the last selected Sorting option. When switching between Favorite tags, the Sorting options change accordingly.
To sort the Favorites in the Results list:
Click a Favorites tag to show the corresponding presets in the Results list.
Select Custom in the Sorting options of the Results list.
Click, drag, and drop any of the presets into a new position in the Results list.
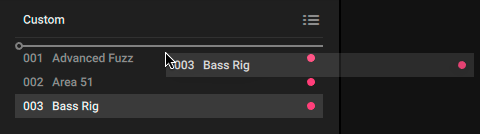
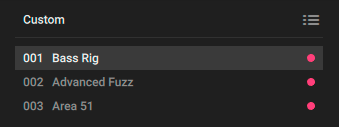
The Favorites in the Results list are sorted in your new custom order.
Note
You can recall this custom order at any time by selecting Custom in the Sorting options when a Favorite tag is selected in the Browser. For more information, refer to Sorting the Results list.
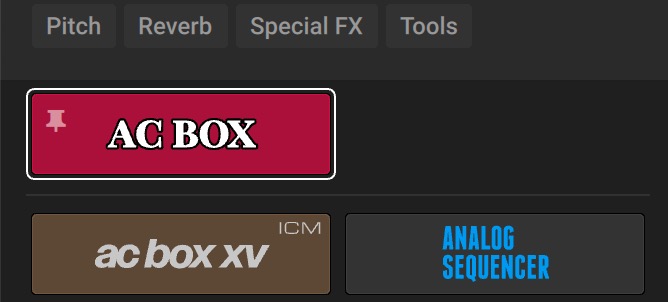
Pinning Components
You can pin your favorite Components at the top of the Component Tiles for easy access.
To pin a Component, place the mouse over the Component you want to pin and click the pin icon that appears.
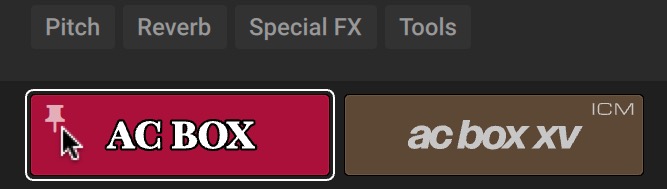
The Component is pinned at the top of the Component Tiles. You can unpin it by clicking on the pin icon again.