Installation and setup
Learn how to download and install Absynth 6 using Native Access and get started making music.
This chapter describes how to download and install Absynth 6 using Native Access and get started making music.
Installation using Native Access
Native Access is your go-to app for downloading, activating, and updating all your NI music creation tools including Absynth 6. If you are new to Native Instruments, you will first have to create your Native ID user account. To learn more about Native Access, visit our support page.
Download and install Native Access here.
Open the Native Access application.
Create a Native ID, if you do not have one already.
Login to Native Access using your Native ID.
Click Library on the left side of Native Access.
Click Available at the top of Native Access.
Click the Applications category to only show standalone products.
Click the Install button for Absynth 6.
The software is installed automatically.
Using Absynth 6 as a plugin in your DAW
The plugin version of Absynth 6 lets you use it as an instrument inside your DAW. You can run multiple instances of Absynth 6 alongside other instrument and effect plugins. When used as a plugin, Absynth 6 relies on your DAW to receive audio and MIDI, and its audio outputs are directly sent to your DAW’s mixer.
Absynth 6 is available in VST3, Audio Units (AU), and AAX plug-in formats. Once installed, Absynth 6 will appear in the plugin lists of any compatible DAW installed on your system.
Note
If Absynth 6 does not show up in the plugin list of your DAW, you can read this article in our Knowledge Base for help.
To learn more about how to load and play instrument plugins like Absynth 6 in your DAW, refer to the documentation of your DAW.
Using Absynth 6 as a standalone application
When you open Absynth 6 from your system’s application folder, it launches as a standalone application independently of a DAW or another plugin host. The Absynth 6 standalone application receives MIDI from your MIDI keyboard or controller, and sends audio signals to your audio interface. For example, this allows you to use Absynth 6 as a live performance instrument on a dedicated computer.
When you open the Absynth 6 standalone application for the first time, you need to configure its audio and MIDI settings to connect Absynth 6 to your audio interface and to your MIDI keyboard or controller.
Configuring the audio and MIDI settings
When Absynth 6 is running as a standalone application, do as follows to configure its audio and MIDI settings:
Click the three little dots in the Header of Absynth to open the Absynth menu:

Select Audio/MIDI Settings from the menu:
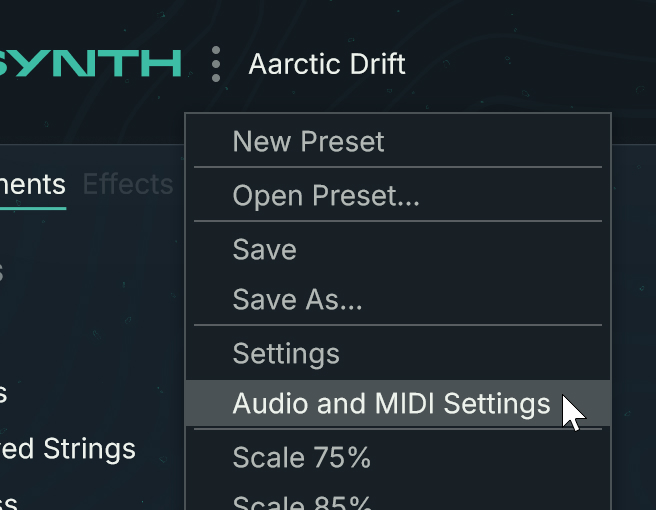
The Audio/MIDI Settings dialog opens.
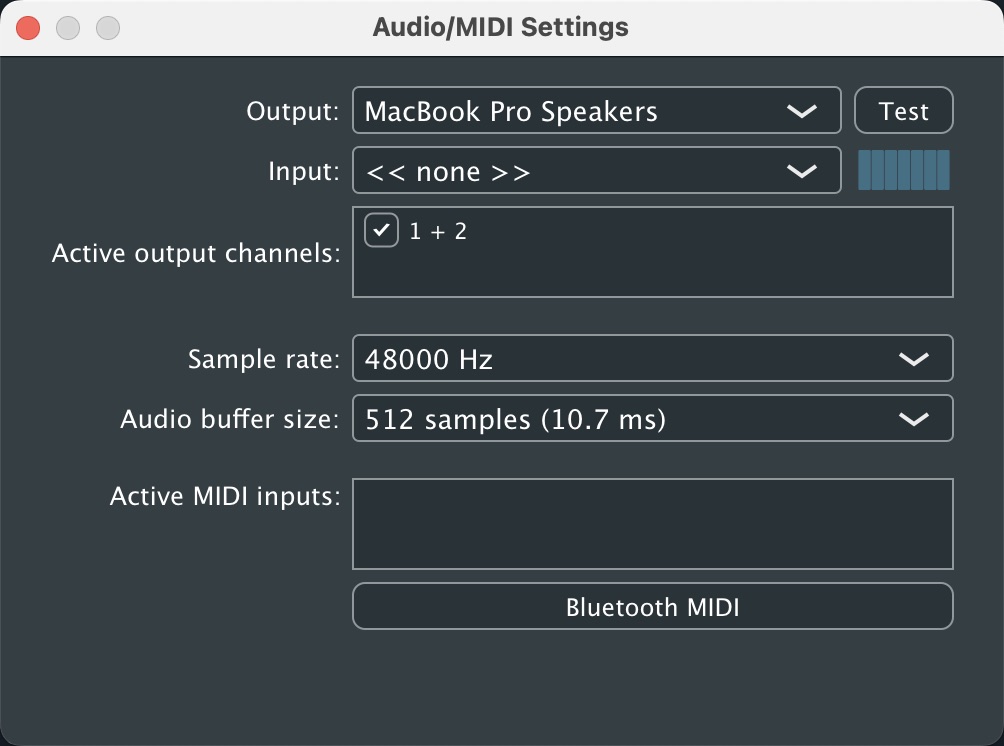 |
In the Audio/MIDI Settings dialog, the Active MIDI Inputs setting at the very bottom is the only necessary setting for configuring MIDI. All the settings above relate to the audio configuration. The dialog includes the following settings, from top to bottom:
Audio device type: Selects which of your operating system’s device driver architectures Absynth 6 should use. Most professional audio devices provide ASIO, Core Audio (Mac) or WASAPI (Windows) drivers.
Device: Selects the audio interface that Absynth 6 should use from all the connected audio interfaces that match the driver architecture chosen in the Audio device type selector above.
Active output channels: Selects the pairs of outputs that will be available in Absynth 6.
Sample rate: Selects the sample rate at which the selected audio interface Absynth 6 will operate.
Audio buffer size: Selects the size of the audio buffer in samples. Small values will shorten the delay between pressing a key and hearing the resulting sound (this is called “latency”), but may cause drop-outs and stuttering when playing a lot of voices at the same time. Conversely, setting this to a higher value will make playback more reliable at the cost of more latency. Note that the Audio buffer size selector is not always available, as sometimes the latency is handled by your hardware drivers.
Note
For some systems the Audio buffer size selector might only include a single entry corresponding to the buffer size currently selected. In that case, you can always click the Control Panel button below to open the control panel of your audio interface and select another buffer size from there.
Control Panel button: Opens the control panel of the audio interface chosen in the Device selector.
Reset Device button: Resets the selected audio interface. This suspends any existing audio stream.
Active MIDI inputs: Selects the MIDI device(s) that you want to use for playing and controlling Absynth 6. The list shows all the MIDI devices currently connected to your computer. You can activate multiple MIDI devices and use them simultaneously.
Note
When Absynth 6 is used as a plugin in your DAW, the DAW handles the audio and MIDI communication with your external devices, so that you don’t need to configure the settings as described here. Read your DAW’s documentation for more information about configuring its audio and MIDI settings.
Note
In addition to the audio and MIDI settings, you might also want to adjust the surround configuration of Absynth among other instrument settings.