Main Window View
Click the MAIN button at the bottom of the interface to bring up the Main Window View.
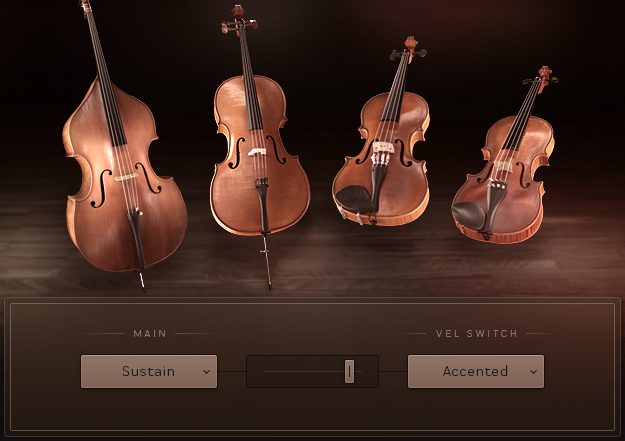
The Main Window View
Velocity Switch Mode

The Velocity Switch Controls
When the instrument is in Velocity Switch mode, the velocity of the played key is used to select between two articulations: one for the low velocities and one for the high velocities.
The articulation to be used at lower velocities is selected using the MAIN menu.
The articulation to be used with the higher velocities is selected using the VEL SWITCH menu.
The velocity split point is set using the slider between the menus.
The split point slider also displays the velocities of the notes you are playing, so you can more easily find a split point that suits your playing.
Note
Depending on your Memory Management setup, selecting articulations can cause samples to be purged or reloaded. So when an articulation is activated, it might take time to load and become fully playable.
Rhythm Animator
The Rhythm Animator is a tool for creating rhythmic phrases that you can then play back easily by simply holding a note or chord. Open the Rhythm Animator by switching the instrument mode in the top left corner of the Main view.
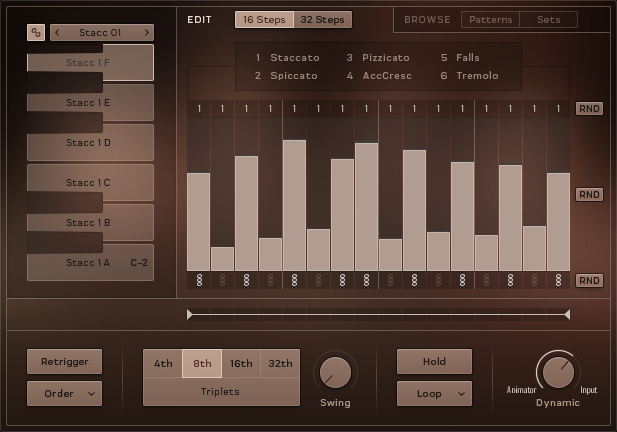
The Rhythm Animator Controls
The Rhythm Animator controls are roughly split into three areas:
The playback controls are at the bottom of the interface.
The pattern selectors are located on the left.
The main area is the pattern editor / browser.
Playback Controls
The playback controls are located at the bottom of the interface.

Playback Controls
In the middle you have a selection of buttons for setting the playback rate, including a Triplets option.
The other controls are as follows:
Retrigger: when active, the rhythmic pattern will restart from the beginning with each new note.
Order: defines the order that the held notes will be played back.
Swing: sets the intensity of swing applied to the rhythm.
Hold: when active, pattern playback will not stop when you release the MIDI keys.
Loop/One Shot: selects the loop mode:
Loop: the pattern will loop continuously.
One Shot: the pattern will play from start to end and then stop until retriggered.
Dynamic: defines how the Rhythm Animator should process its dynamics. When turned all the way to the left the Rhythm Animator will have full control of the dynamics; when turned to the right the played velocity or controller value will control the dynamics.
Selecting Patterns
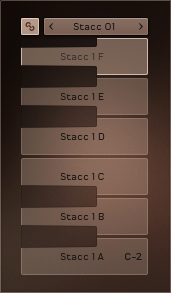
Pattern Selection Controls
Patterns can be selected either by key-switches on the white keys in the range of C-2 to A-2, or by clicking on the corresponding buttons on the interface.
The chain icon button to the top left is the link button. When active, selecting a pattern will also load a matching Sound preset.
Note
Be aware of the link setting. Loading a pattern with link mode active will overwrite changes you may have made to the sound of the instrument.
Editing Patterns
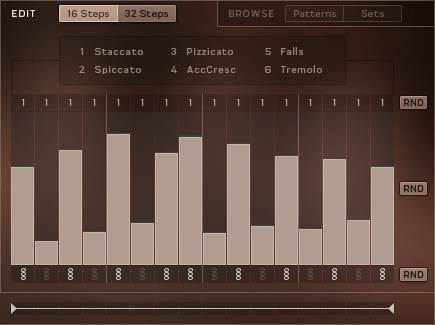
Pattern Editor Controls
There are three main areas in the pattern editor:
At the top you have the option to switch between 16 Steps or 32 Steps (this can then be defined further later)
There are then three rows of controls that define how each step will be played:
The top selects the articulation for the step. You can select between 6 articulations, which are illustrated on the interface.
The middle row is used to define the dynamic level of each step.
The bottom row sets whether a step plays all held notes, or only a single note as defined by the Order menu.
Each of these rows can be randomized by using the corresponding RND button.
At the bottom is a control for setting the start and end points of the pattern. Changing these will also change the length of the pattern.
Browsing and Loading Patterns
Click on either of the BROWSE buttons to the top right of the pattern editor to open the pattern browser.
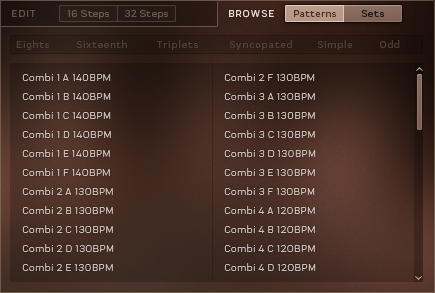
The Patterns Browser
You can browse for either individual Patterns, or full pattern Sets.
Pattern Sets will load a pattern in each key-switch, whereas individual patterns will only be loaded into the selected key-switch.
The displayed patterns or sets can be filtered by tags:
Click on the tags above the browser to filter the browser contents.

The Browser Filtered by the Sixteeth and Simple Tags
To load a pattern or set, double-click on its entry in the browser.