Installation and Setup
Learn how to install and setup Cloud Supply. Create a Native ID and download the software from Native Access. Follow these installation instructions to get started.
Before you can make music with Cloud Supply, you must install and setup the necessary software. Follow these instructions to get started.
Native Access
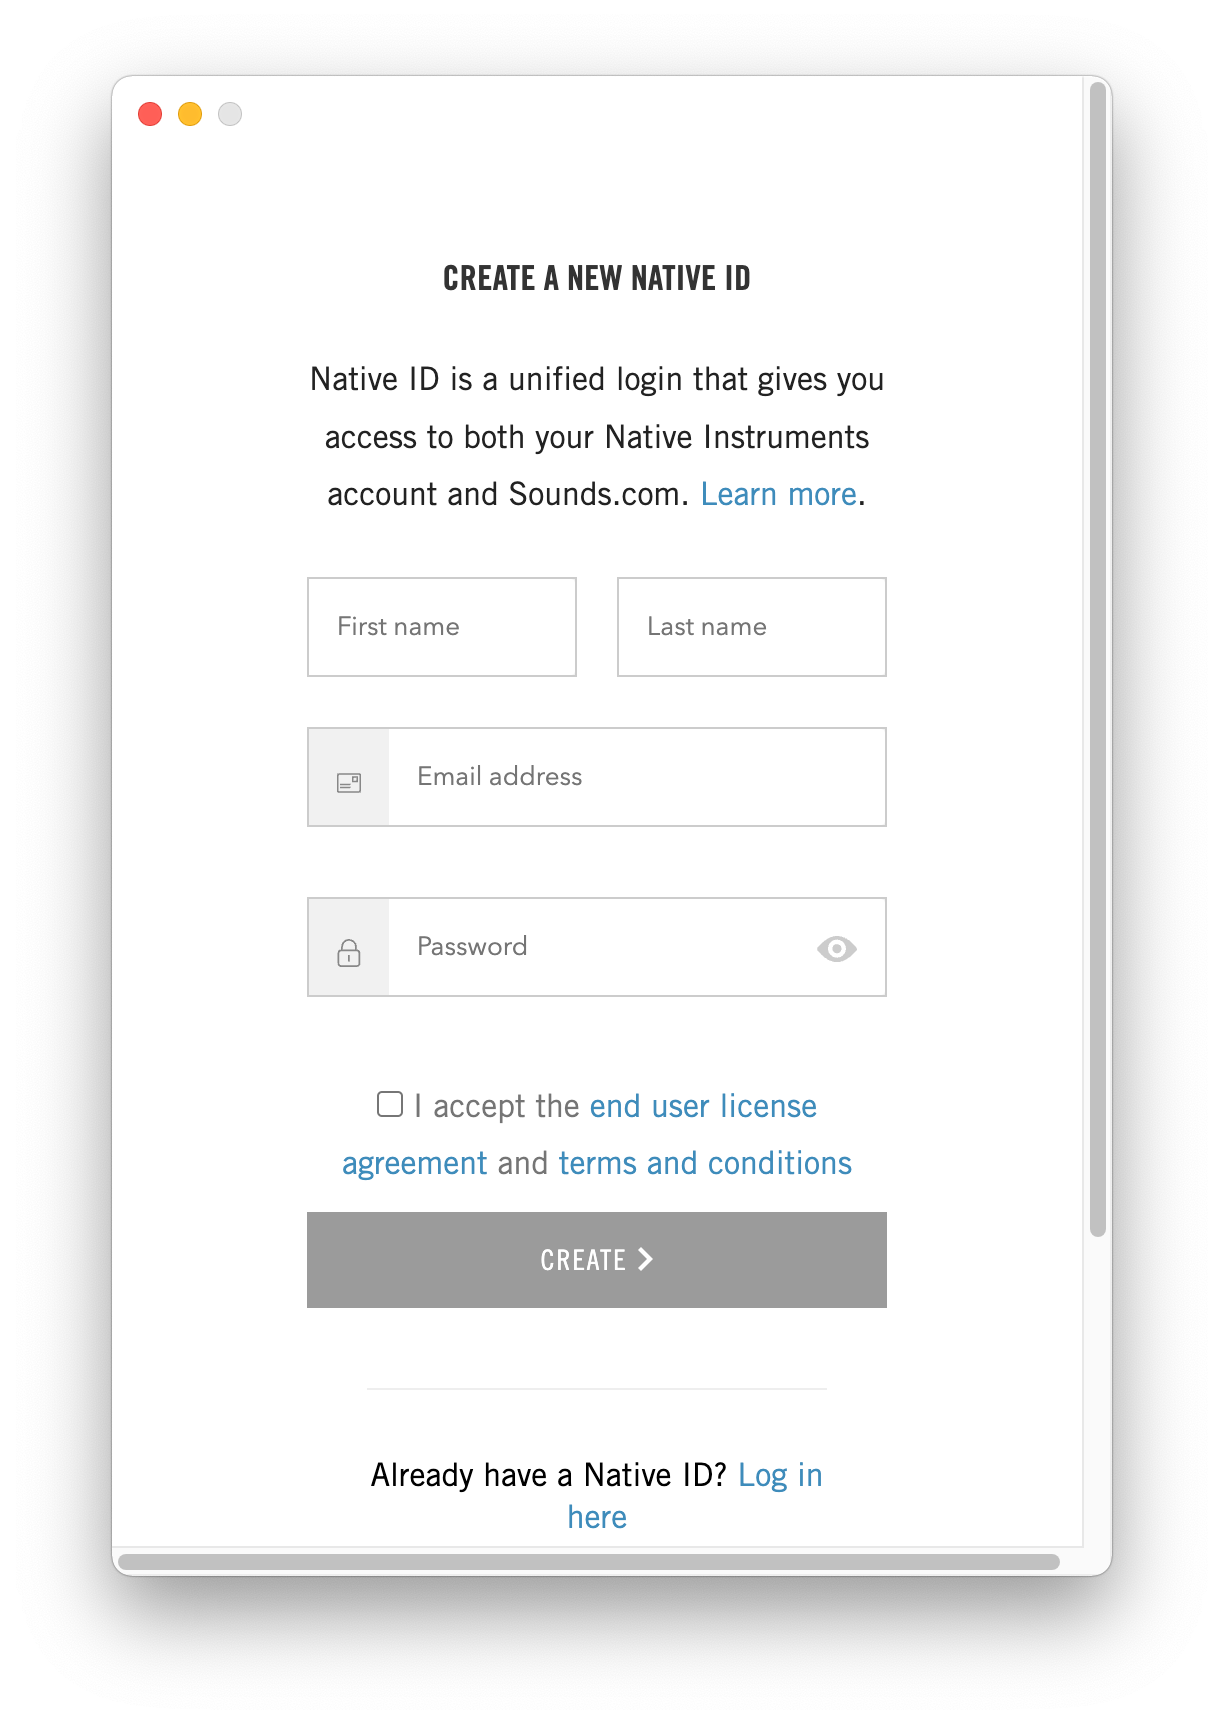
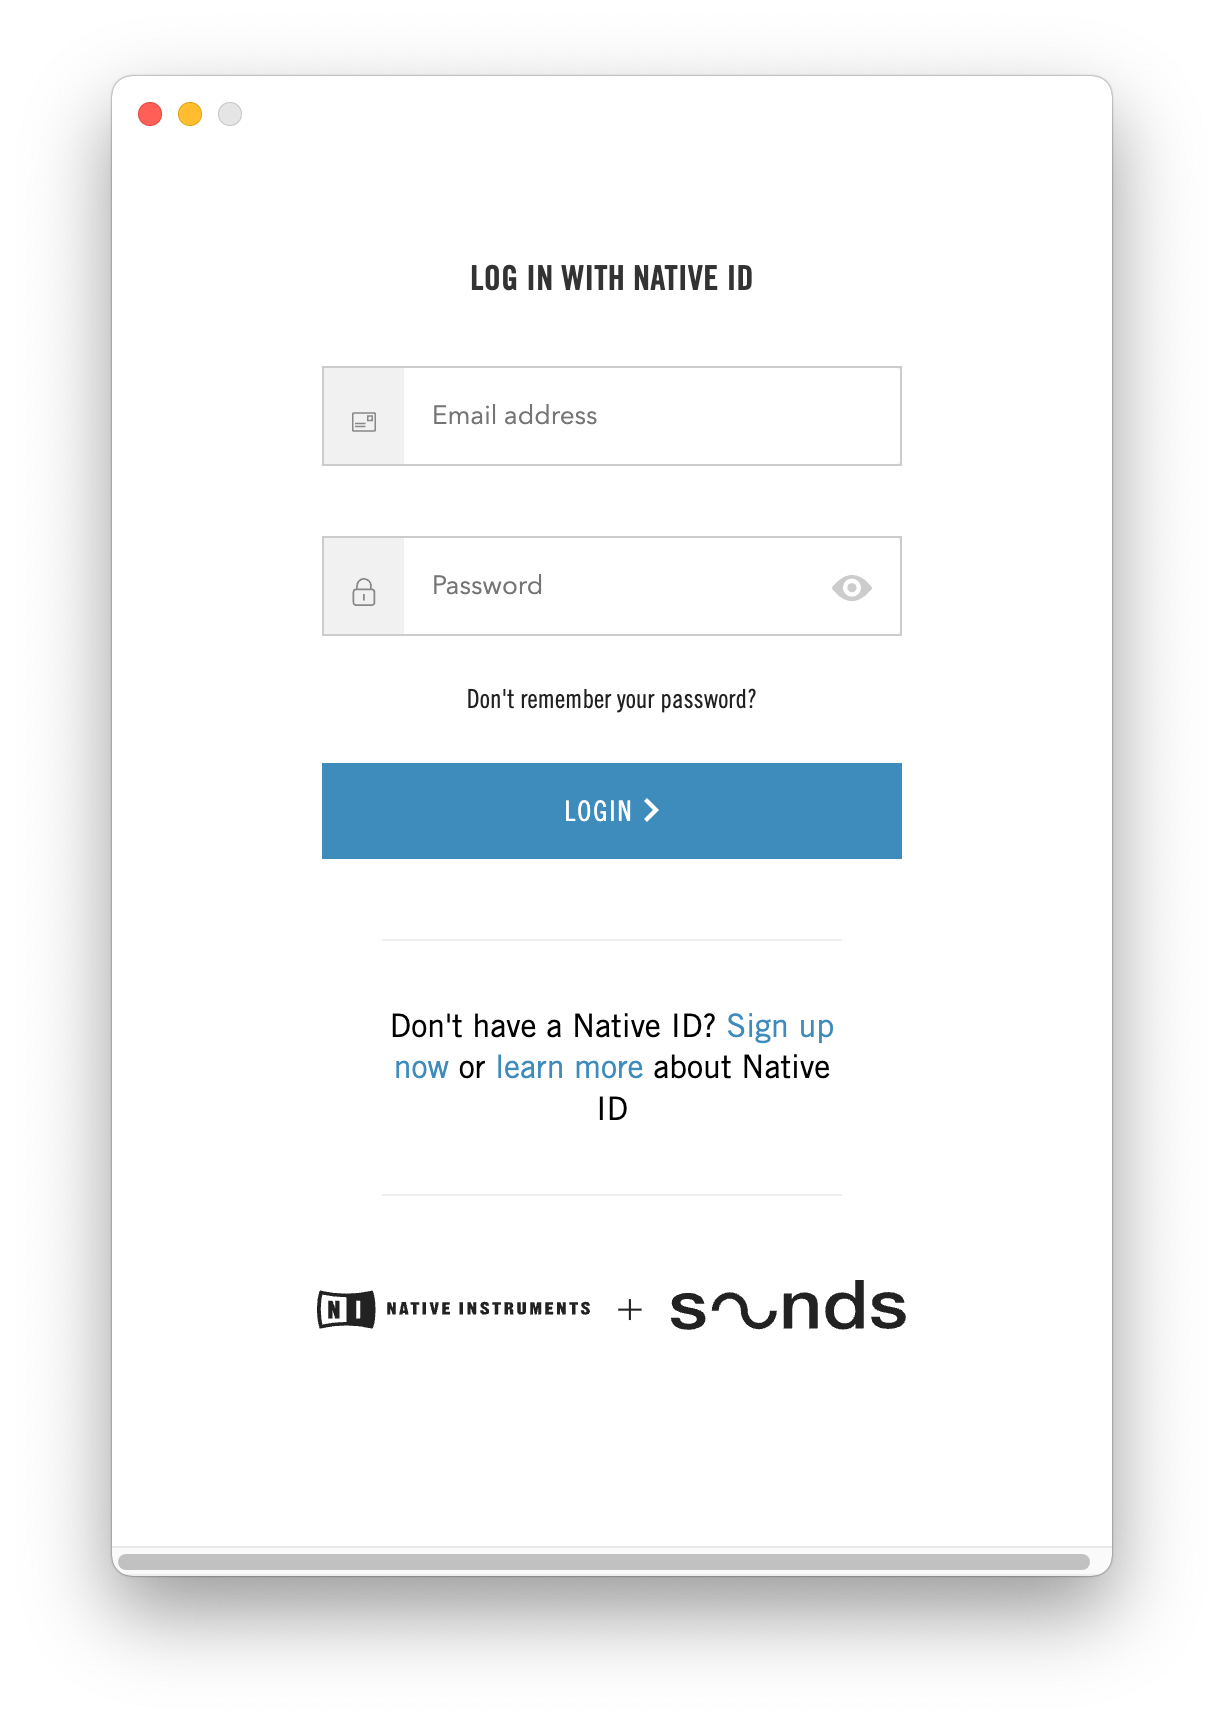
Native Access allows you to install the software for Cloud Supply. If you are new to Native Instruments, you first must create a Native ID. To learn more about Native Access, visit our support page here.
Download and install Native Access here.
Open the Native Access application.
Create a Native ID, if you do not yet have one.

Login to Native Access using your Native ID.

Click the Available tab in the upper header.
Click Kontakt.
Click Install for the following products:
Kontakt or Kontakt Player
Cloud Supply
The software is installed automatically.
Note
If the software is already installed, click the Available updates tab and check for new updates before proceeding.
Cloud Supply via Kontakt
Once installed, you can start using Cloud Supply in Kontakt. Cloud Supply is not an independent plug-in, so you first need to open an instance of Kontakt or Kontakt Player:
Open Kontakt as a plug-in in your host software (DAW), or as stand-alone application.
Locate Cloud Supply in the Browser, on the left side of the user interface.
Click Instruments to open the product's content.
Double-click the Cloud Supply.nki file to load the instrument.

Tip
If you are new to Kontakt and want more information, visit Kontakt Player and Kontakt.